

Best Proxies for Janitor AI in 2026: Top Picks
26.07.2026 10 min
cURL is a popular Linux command used to send requests to websites and web applications. Setting timeouts is one of the key features of cURL as it allows you to set the amount of time you need the command to run before being terminated if the server doesn’t respond. The cURL timeout feature prevents your application from hanging forever if the server doesn’t send a response to your request.
To set a timeout (which is usually in seconds), you first need to determine how long you would like your script to wait for a response before terminating the session. Most servers respond within a few seconds, so anything between 5 to 15 seconds is reasonable.
If you’re keen to learn more about the cURL timeout setting feature, this article is for you. We will discuss everything you need to know, including why you need to use timeouts, the common use cases, best practices, and more. Let’s dive in!
Timeout in cURL is a feature that helps determine how long before a request is terminated (and showing the timeout error responses) if the server is taking longer than expected to respond. If you don’t set a timeout, the request will stay open, which may cause your script or program to hang until you manually terminate the HTTP call.
By using timeout in cURL, the process of terminating the request becomes automated, allowing your system to stay responsive. Overall, operation timed cURL commands will help your application stay responsive.
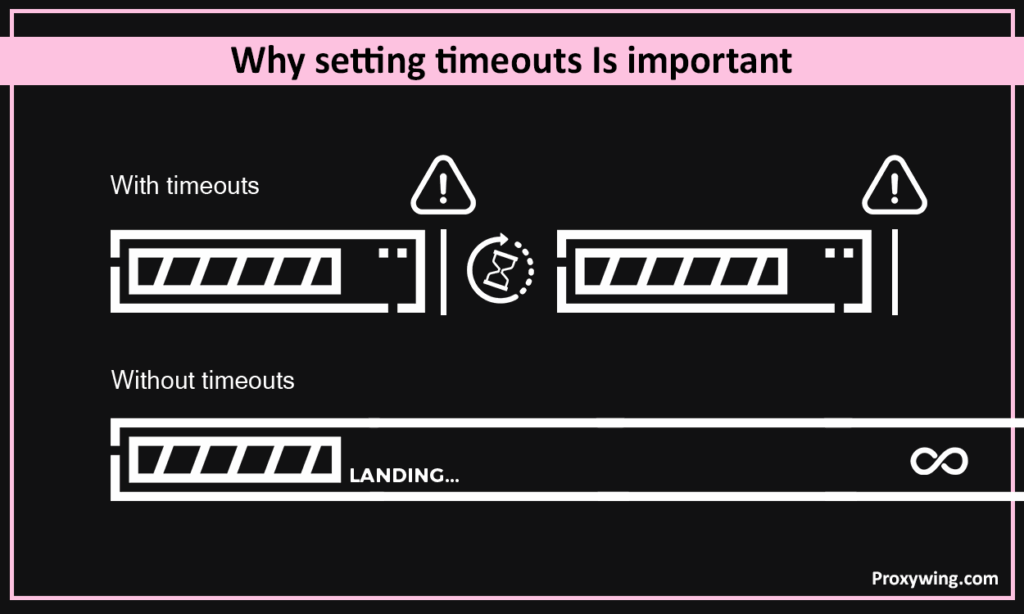
The main role of timeout limits is to protect your application or script from hanging due to a non-responsive server. If your system sends a HTTP call to a certain server that is not responsive, timeouts (displaying error 28) allow your application to terminate the request after a pre-set time interval. By using cURL with timeout, your script can continue with the next tasks (if they don’t depend on the request) without getting stuck.
In this section, we will discuss some of the common timeout options in cURL that you will often encounter. These different cURL flags control time and speed limits for your HTTP requests.
With this cURL flag, you can set the total time allowed for the entire request, including connecting and transferring data to the target server. In case the full operation takes longer than the specified value (usually in seconds), cURL will then automatically terminate the request.
Below the command for setting max-time:
curl --max-time 10 https://samplesite.comIn the command above, the set timeout period is 10 seconds. After 10 seconds cURL will terminate the request.
Using this flag allows you to set how long you would want cURL to wait while trying to establish a connection to the server. If the connection is not established within this time, cURL automatically aborts the request.
Below is a command for setting connect-time:
curl --connect-timeout 5 https://samplesite.comUsing the command above triggers cURL to abort the request if it cannot connect to the target server within the set timeout period of 5 seconds.
These are two flags and they can be used in the same command. –speed-limit sets a minimum transfer speed (in bytes per second) and –speed-time sets how long the transfer can stay below that speed before cURL aborts the connection. This allows you to set the minimum speed you would like your requests to use to avoid waiting for slow connections.
The command below shows –speed-limit and –speed-time in action:
curl --speed-limit 1024 --speed-time 10 https://samplesite.com/largefileIn the above command if the transfer stays below 1 KB/s for 10 seconds, cURL will automatically stop the download from proceeding..
Some of the real world applications for using timeout in cURL include:
When calling a fast API, you can set a short overall timeout to prevent your script from waiting too long if the service is slow or unresponsive. The timeout you set in this case largely depends on the reliability of the website or API you are trying to call. For instance, using a command like curl –max-time 10 https://api.samplesite.com/data ensures the request never runs longer than 10 seconds.
When downloading big files, it is common for some servers to slow down or become totally unresponsive during the process. Using the time limit cURL feature allows you to stop the download in such scenarios. You can later resume or restart the download when the server and network performance becomes better.
For example the command curl –speed-limit 2000 –speed-time 15 -O https://samplesite.com/file.zip cancels the download if it stays below 2 KB/s for 15 seconds.
One of the most effective ways for using time limit cURL flags is by pairing them with retry logic. A short connection timeout helps detect dead or unreachable servers quickly. Adding the retry logic allows your script to retry connecting to the server faster. This can sometimes help establish a connection with the server much faster.
The command curl –connect-timeout 3 –max-time 10 https://api.samplesite.com/process will trigger cURL to retry connecting to the server (with a new request) if it doesn’t respond within 3 seconds.
Timeouts can help quickly detect slow or overloaded proxies, allowing your script to connect to a new one to avoid long delays. In the command shown below, cURL will terminate the request if the connection with the proxy is not established in 5 seconds. The same command also shows that the maximum time for the entire connection (connecting and transferring data) is 15 seconds.
curl --proxy http://proxy.samplesite.com:8080 --connect-timeout 5 --max-time 15 https://target.comThe timeouts feature works more effectively when you set both –connect-timeout and —max-time. –connect-timeout detects unreachable hosts quickly while the –max-time prevents long transfers from blocking your app.
Here is an example:
curl --connect-timeout 5 --max-time 20 https://samplesite.comIncrease –max-time and use speed-based options for big files. Consider using –speed-limit and –speed-time to abort stalled downloads. You should also raise –max-time proportionally to expected file size and network speed.
Below is an example of both recommendations in action.
curl --max-time 600 --speed-limit 1024 --speed-time 30 -O https://samplesite.com/big.zipYour script should include the ability to show progress so you can detect slow transfers early. You can use -# for a progress bar or –progress-bar.
Use multiple controls, including connection timeout (fast fail), overall timeout (total cap), and speed timeouts (slow-transfer guard). Combining them covers different failure modes.
Using a retry logic in your script improves resilience for transient network errors. Use retry on connection failures, not on all HTTP errors. You should also use exponential backoff and a max retry count to avoid overload.
Always log all the response error codes so you can diagnose issues with enough data to point to. This includes recording timestamps, commands used, and server/ proxy info for each failure.
These are the fixes for some of the common cURL errors you may encounter.
Use -v or –verbose to see detailed request and response information. Having this information helps you identify where the delay occurs. Delays could be coming from DNS lookup, proxy connection, SSL handshake, or server response.
Example:
curl -v --max-time 10 https://samplesite.comcURL also allows you to check whether the host is reachable without downloading the full content by using the -I (HEAD request) flag. cURL supports these flags to help you confirm if the issue is with connectivity or with the server’s response speed.
Example: curl -I --connect-timeout 5 https://samplesite.comUsing timeouts in cURL is an effective way to control how long requests are allowed to run. It protects your scripts from hanging or getting stuck, making your applications more reliable. By using the right flags, applying retry logic, and following best practices, you can handle slow or unresponsive servers more effectively and with confidence.
Article written by:

Full Stack AI Engineer
Alexandre brings deep full-stack expertise to Proxywing's engineering efforts — from backend architecture and performance optimization to AI-driven development workflows. His hands-on work spans Node.js, React, cloud infrastructure, and RAG pipelines, giving him a rare ability to tackle both proxy platform internals and user-facing product challenges. At Proxywing, Alexandre focuses on designing resilient systems, eliminating performance bottlenecks, and integrating modern AI tooling into the development process. Outside of coding, he's passionate about exploring the frontiers of AI engineering and building side projects that push his technical boundaries.
All articles by author (55)