How to Use ZennoPoster with Proxy: Complete Setup & Usage Guide
ZennoPoster is an application for Windows PCs and servers used for automating web browsing tasks. To avoid restrictions like IP bans, especially on websites with strict anti-bot systems, it is best to use ZennoPoster alongside a proxy. By using ZennoPoster proxy servers, you can distribute your requests among different IP addresses to make it seem like your traffic is coming from different devices.
In today’s article, we will discuss how to use and set up a ZennoPoster proxy for seamless browser automation. We will also cover the different proxy types, steps for setting up a proxy, and the common issues users face with their respective fixes. So, without wasting any more of your time, let’s jump right in!
Key Takeaways
- Automation Powerhouse: ZennoPoster is software for Windows PCs and Servers designed to automate several web tasks. Some of these tasks include web scraping and account farming through a visual flowchart interface.
- Essential Proxy Use: For effective web automation, this software is often used with proxy servers, for managing large scale automation tasks. Proxies hide the real IP of the local network to bypass strict website security and any ISP network restrictions.
- Dynamic Threading: Several automation tasks involve sending multiple requests at the same time, so using a proxy helps distribute these requests across different IPs. By using IP rotation, each request is sent with a different IP, which reduces the possibility of detection.
- Selecting the Right Type: Residential and mobile proxy servers rely on IP addresses of real home users, which makes them the most trustworthy choice. However, they are the most expensive. Datacenter IPs offer the fastest speeds and are cost effective, but they are the easiest to detect. ISP IPs provide a balance between the performance offered by datacenter IPs and the high success rate you get with residential IPs.
- Protocol Flexibility: Proxies for ZennoPoster support both HTTP(S) and SOCKS5–the two common protocols that most proxies rely on today.
- Avoid Free Lists: Public proxies often use blacklisted IPs and are slow. Using free IPs also risks your data privacy since some of them sell user data to generate revenue. We recommend going for dedicated and shared proxy solutions from trusted vendors.
- Simple Setup: Setting up proxies in automation tools like ZennoPoster is straightforward if you know the right steps to follow. A single proxy can be set up via the Set Proxy block in ProjectMaker. ZennoPoster supports bulk proxy management through its built-in ProxyChecker functionality.
- Error Management: Common errors when using this software include “407 Authentication” errors and DNS leaks. This guide includes steps for fixing this errors
What Is ZennoPoster and Why Does It Require Proxies?
It is an all-in-one automation suite that is designed to replicate human actions in a browser. ZennoPoster programs can be installed on Windows PCs or servers, allowing users to automate different kinds of tasks including automation tasks.
Using proxies alongside ZennoPoster allows the distribution of requests across several IP addresses, which reduces the possibility of IP blocks. Proxies also enable traffic to be sent to specific websites that might be blocked by local ISPs or network admins. In some cases, they can help boost speeds, especially when the local ISP is not using efficient routes.
Why You Should Use a Proxy in ZennoPoster
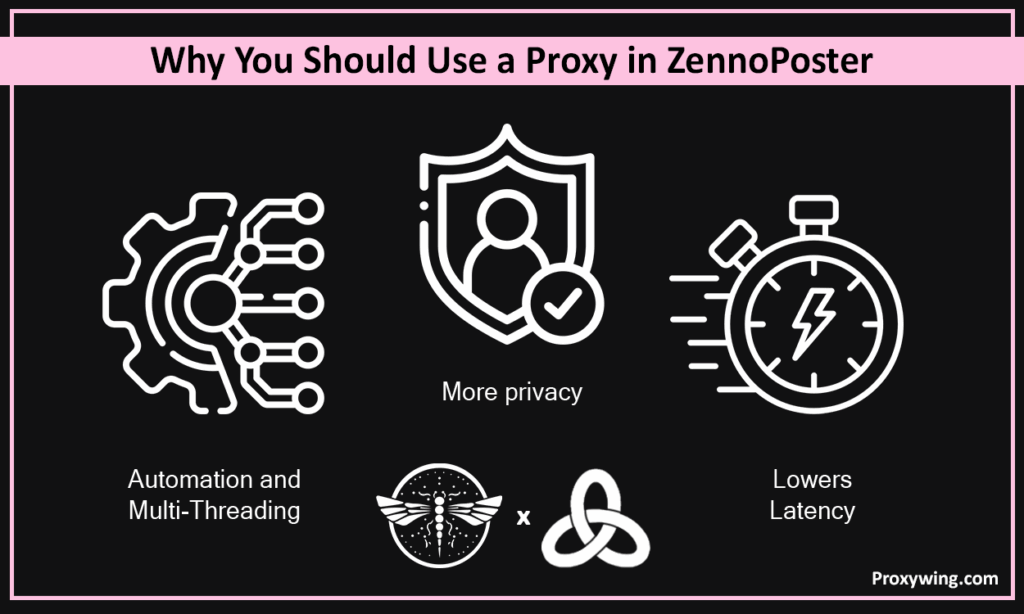
- Automation and Multi-Threading: ZennoPoster proxy servers allow you to run hundreds of threads without encountering rate limits. Each thread or request can use a unique IP address, which makes each one seem like traffic from a different user. So, adding new threads requires new IPs as well.
- More privacy: It hides your local IP address, making your connection more private and harder to track.
- Lowers Latency: They allow you to use an IP that is closer to the datacenter of the sites you intend to access, which reduces connection latency.
Types of Proxies Compatible with ZennoPoster
Datacenter Proxies
Datacenter proxies give you access to high-speed IPs hosted on servers in several data centers around the world. They are the most affordable option and offer the fastest speeds, but they are the easiest to detect. This makes them only feasible for data collection at web sites with basic security.
Residential Proxies
These give you access to IPs of real home users. These IPs are the hardest to detect, which is why residential IPs have the highest success rate. Residential IPs are ideal for handling sensitive tasks such as account management and scraping data from websites with sophisticated security systems.
ISP Proxies
ISP IPs offer a balance between datacenter and residential IPs. They provide the speed of datacenter IPs since they run on servers hosted in ISP-managed datacenters. However, they also offer the trust of residential proxies since their IP addresses (primarily static IPs) are assigned by local ISPs. This also makes them a good choice for tasks like account management that require maintaining the same IP over a long session.
SOCKS5 vs. HTTP(S): Which Protocol to Choose?
The HTTP(S) protocol primarily handles web traffic. SOCKS5 on the other hand is more versatile and faster for complex data transfers. It also handles different kinds of traffic, including web traffic and UDP traffic, making it the ideal choice for tasks that need the speeds of the UDP protocol.
How to Get Proxies for ZennoPoster.
Why Free Proxies Are Risky
Free proxies often rely on IPs that are unstable and slow. These IPs are also usually blacklisted and can easily be compromised since they’re shared among thousands of users, making them less reliable for sensitive tasks. Even though ZennoPoster allows using free proxies, we don’t recommend them because of these downsides.
Where to Buy Reliable Proxies for ZennoPoster
For reliable datacenter or residential proxy solutions, consider providers offering high uptime, IP rotation capabilities, and API access for easy integration. ProxyWing’s ZennoPoster proxies are a great choice. They guarantee 99.9% uptime, bandwidth of up to 1Gbps, and support automated IP rotation.
How to Set Up a Proxy in ZennoPoster (Step-by-Step)
These are the common methods for configuring proxy settings.
Method 1: Setting Proxy in Project Maker
- Access Proxy Settings: Launch ZennoPoster and open a new project. In the project settings use the Set Proxy action block.
- Input Server detail: Enter your server details using the format; ip:port or login:pass@ip:port. The choice between these two options depends on whether your provider requires authentication.
Method 2: Setting Proxy via ProxyChecker
This method is meant for bulk management.
- Import Proxy lists: Launch the software and on the main tab launch the built-in ProxyChecker tool. Within ProxyChecker, click Add Proxies > Load from file and browser the file with your proxy lists.
- Final configurations: Within ProxyChecker, select the Rules tab and click New. Here, you can define how a live proxy looks to enable automatic filtering of dead IPs.
Method 3: Assigning Proxies to Accounts or Threads
This method allows you to map specific proxies to specific user profiles or multiple accounts within your database.
- Database/Table Preparation: Start by creating a table or Excel file with two primary columns, i.e Account Credentials and Assigned Proxy. Make sure the proxy is stored in the IP:Port:Login:Password format next to the account it belongs to.
- Loading Data in ProjectMaker: Use the Tables or List action to bind your account file to the project and the Get Row action to pull the specific account you want to work with.
- Variable Assignment: Extract the proxy string from your table row into a variable like {-Variable.current_proxy-} to link a specific IP to its account.
- Executing Set Proxy: Place a Set Proxy block as the first step by inserting your variable into the address field to change the IP before the site loads.
- Profile Binding: Save your project state as a .zpprofile to ensure the same digital footprint and proxy are reused in future sessions.
How to Test Proxy Connection in ZennoPoster
Checking External IP
With this method, add action step in your workflow to navigate to a site like Proxywing IP-checker or icanhazip.com. Use the Get Text action to verify that the displayed IP matches your proxy.
Detecting Authentication Errors (407)
If you see the 407 error, it usually indicates a username/password error or an unauthorized IP. Double-check your provider’s dashboard to confirm that your local IP is whitelisted or credentials are correct.
How to Set Up Residential or Rotating Proxies in ZennoPoster
Get ProxyWing’s Residential / Rotating Proxies
ProxyWing offers high-speed residential proxies for ZennoPoster optimized for performance and stability. IP rotation is handled automatically in the background using a complex IP addressing system, so no need to manually manage individual IP lists.
Gateway Format Setup
If you intend to use a rotating IP, enter the provider’s entry point into the Set Proxy action. For ProxyWing, use proxy.proxywing. com:8000 or username:password@proxy. proxywing. com:8000 if authentication is required.
Configuring Rotation & Session Time
Choose between using static IPs and automatic rotation. Sticky sessions maintain the same IP for longer periods, which makes them a good option for any tasks that involve account logins. On the other hand, automatic rotation is best for automation processes since you need your requests to use differ IPs to make detection harder.
Proxy Rotation & Working with Large Lists
Preparing Proxy Lists (Bulk Import Format)
When handling large-scale tasks, format your list as IP:Port:Login:Password. Within your ZennoPoster browser settings, go to the ProxyChecker tab, click Add Proxies, and select your file that contains your proxy lists data.
Assigning Proxies Per Thread
To make sure each request uses a new IP, use Get Line action and set it to Delete after use. This step prevents multiple instances from overlapping on the same connection, which can trigger IP bans.
Debugging & Improving Proxy Stability
Configuring Timeouts
If your proxies are not working due to a timeout error, it is likely due to slow residential IPs. To resolve this issue, increase the Timeout period in the browser properties. This prevents ZennoPoster from filtering out a working IP just because a page took a few extra seconds to load. You may also consider buying private proxy solutions to achieve the faster speeds.
Retries & Backoff Logic
Build If/Then logic into your flowcharts. Using this logic gives your system an option to retry when it fails after the first attempt. If a proxy fails to load a page, your bot is automatically instructed to retry in 30 seconds with a fresh IP.
Logging External IP for Monitoring
Add a step to navigate to an IP-check URL like Proxywing-checker or other websites like whoer.net at the start of every run. After doing the checks, save the result to a log file to verify that your real IP is hidden.
Common Proxy Errors in ZennoPoster & Fixes
Error 407 (Proxy Authentication Required)
This error simply means your provider doesn’t recognize your traffic. It normally occurs when your credentials are wrong or your IP address isn’t whitelisted. Ensure your login:password is formatted correctly in the proxy string or double check your provider’s dashboard to confirm that your IP is whitelisted.
DNS Leaks
Standard settings may at times leak your real DNS. Consider enabling “Send DNS through proxy” in the ZennoPoster settings for total anonymity.
Thread Conflicts
Avoid assigning the same IP to different requests at the same time. Use a Global Variable or a Lock to ensure every request secures its own unique IP before proceeding.
Bottom Line
Overall, using proxies increases the reliability of your automation tasks with ZennoPoster. By using proxies, you can run automaton tasks without triggering IP bans since they enable assigning unique IPs for each thread. However, your experience will depend on the proxy type and provider you choose. Consider the pricing, speed, and success rate of residential vs datacenter IPs and then make a choice based on what you can afford to compromise.
It is also important to correctly configure rotation since it is one of the benefits of using ZennoPoster. Finally, knowing the common issues such as Error 407, DNS Leaks, and Thread Conflicts and how to fix them will give you a much better experience.
Article written by:

Head of Partnerships
Ion brings deep, hands-on knowledge of proxy infrastructure to his partnerships role, spanning residential, ISP, datacenter, and mobile proxy setups across real-world use cases like multi-account management, web scraping, and performance marketing. At Proxywing, he drives collaborations with affiliates, bloggers, and tech communities, while also contributing to the company's content and positioning across directories and marketplaces. His client-facing expertise — from antidetect browser configuration to tailored proxy rotation strategies — allows him to bridge the gap between technical capability and partner needs. Outside the office, Ion stays curious about emerging martech tools and community-driven growth strategies.
All articles by author (16)FAQ
The choice of which type to use depends on the task at hand. Residential proxies are best for social media management and automated tasks on websites with strict anti-bot policies since they rely on trustworthy IPs assigned to real home devices. Datacenter IPs on the other hand are best for high-speed scraping, especially for websites with less anti-bot policies.
You need to use the ProxyChecker tool that is built into ZennoPoster. To get started, open the software and click the ProxyChecker tab. Then click Add Proxies from a file and select your .txt file.
Yes, ZennoPoster programs support the use of rotating IPs. This is enabled by the rotating gateway address provided by your vendor.
Ideally, one IP per thread or request. For automation tasks, we recommend using a rotating pool with thousands IPs to increase the success rate.